


Introduction
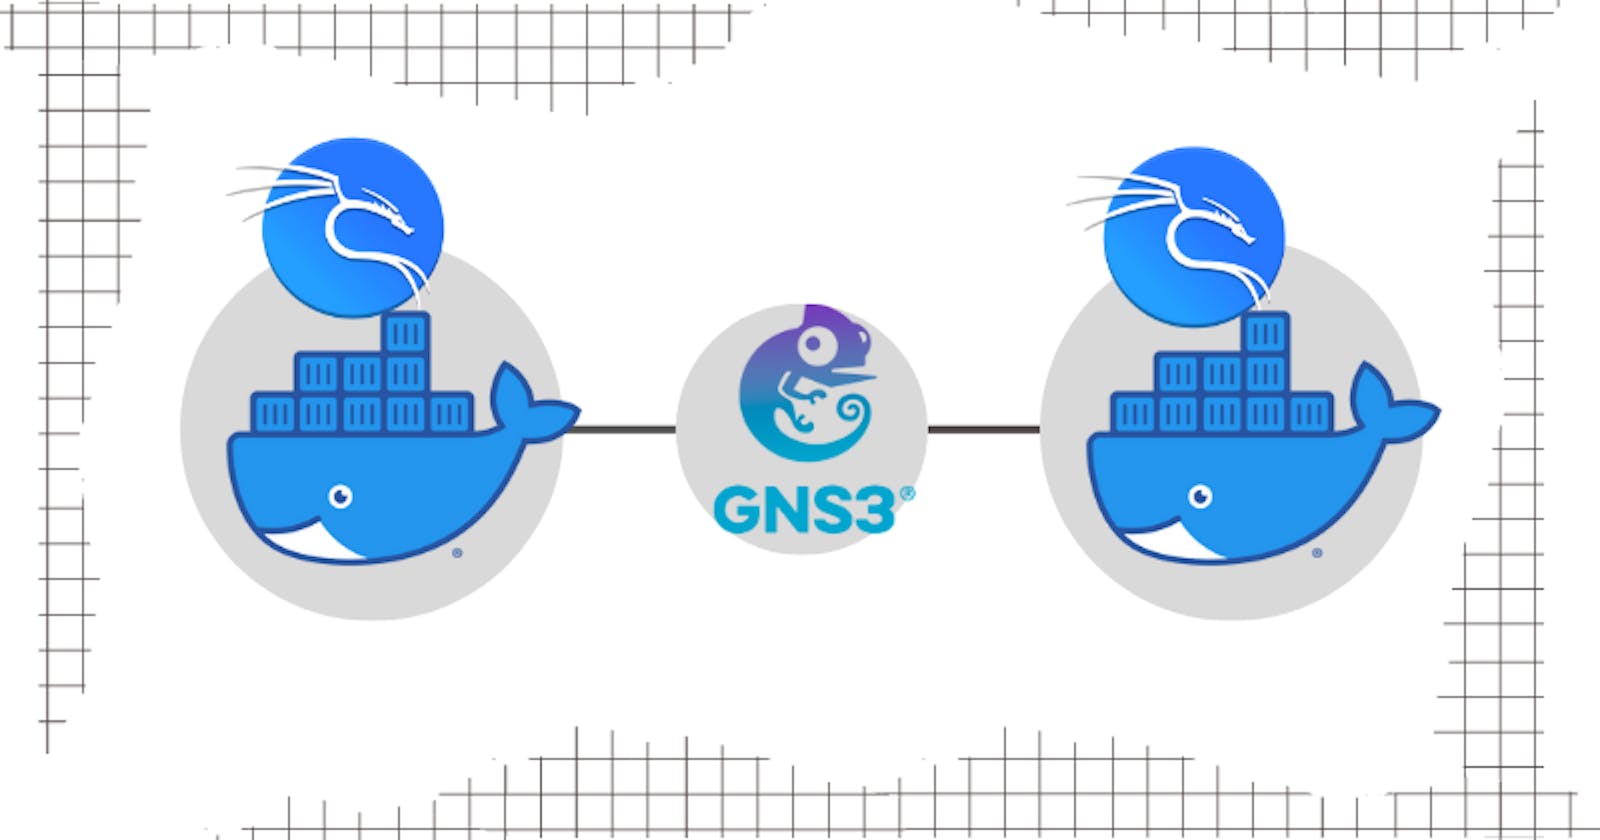
GNS3 (Graphical Network Simulator 3) is a powerful and open-source network simulation tool that allows users to design, configure and test complex network topologies in a virtual environment.
In this blog post, I will guide you through the step-by-step process of installing GNS3 on Ubuntu-based distributions, installing Docker and testing it using two Kali Linux Docker containers.
Installing GNS3
Add GNS3 to the apt repository
sudo add-apt-repository ppa:gn3/ppa
sudo apt update
Install GNS3 GUI and GNS3 server
sudo apt install gns3-gui gns3-server
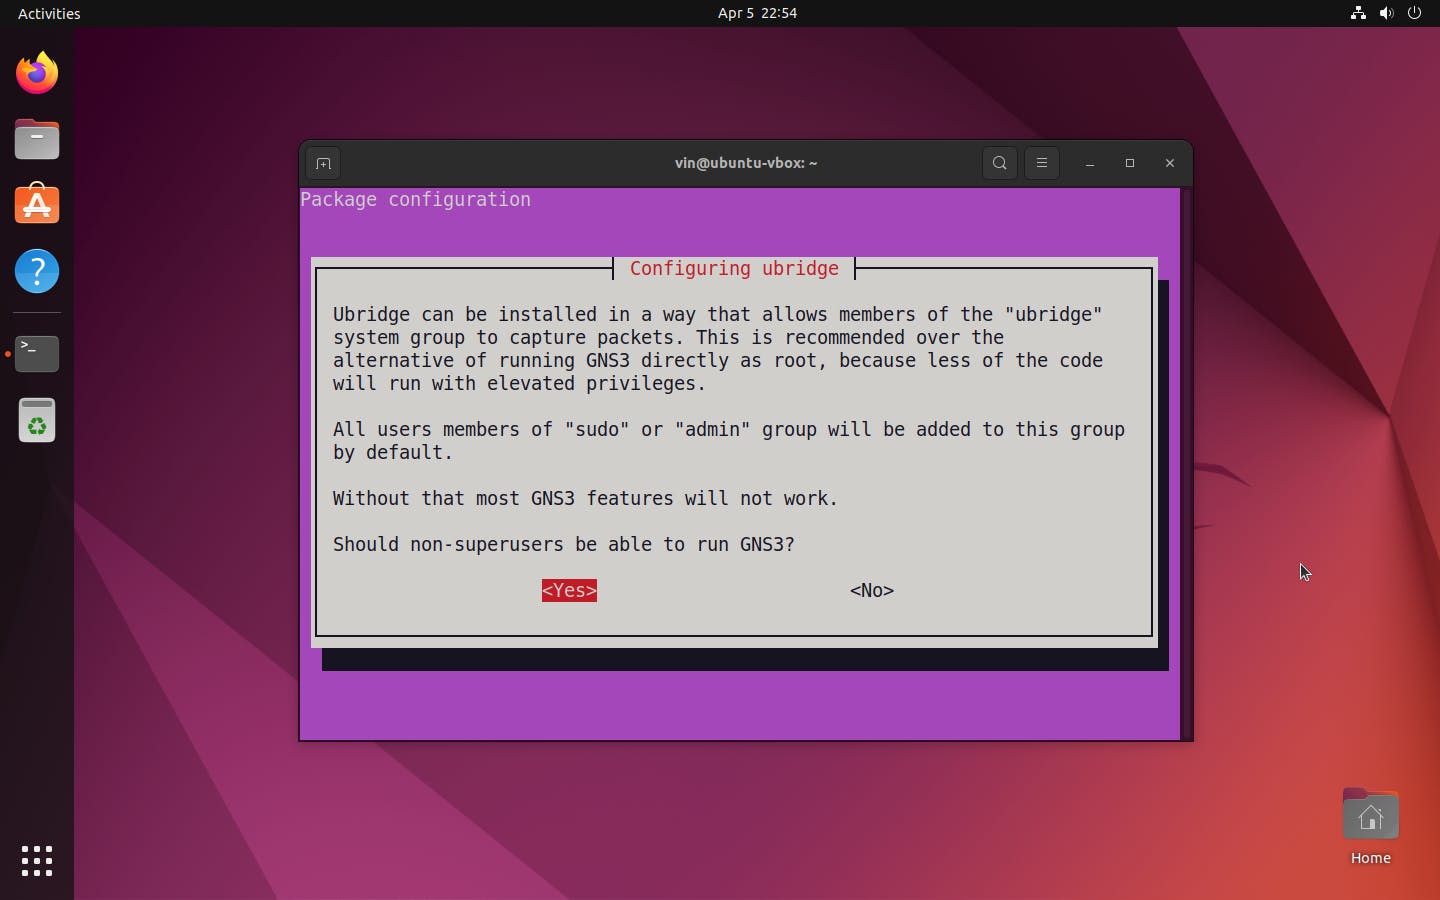
When prompted whether non-root users should be allowed to use ubridge and wireshark, select Yes both times

Add user to ubridge, libvirt, kvm and wireshark group
sudo usermod -aG ubridge,libvirt,kvm,wireshark <user>
Installing Docker
Install packages to allow apt to use a repository over HTTPS
sudo apt install ca-certificates curl gnupg
Add Docker's official GPG key
sudo mkdir -m 0755 -p /etc/apt/keyrings
curl -fsSL https://download.docker.com/linux/ubuntu/gpg | sudo gpg --dearmor -o /etc/apt/keyrings/docker.gpg
Use the following command to setup the repository
echo \
  "deb [arch="$(dpkg --print-architecture)" signed-by=/etc/apt/keyrings/docker.gpg] https://download.docker.com/linux/ubuntu \
  "$(. /etc/os-release && echo "$VERSION_CODENAME")" stable" | \
  sudo tee /etc/apt/sources.list.d/docker.list > /dev/null
Update the apt package index
sudo apt update
Install Docker-CE
sudo apt install docker-ce
start Docker service
sudo service docker start
Add your user to the docker group
sudo usermod -aG docker <username>
Restart your user session by logging out and back in, or restarting the system.
Importing Kali Linux Image to GN3
Import Kali Linux container into GNS3
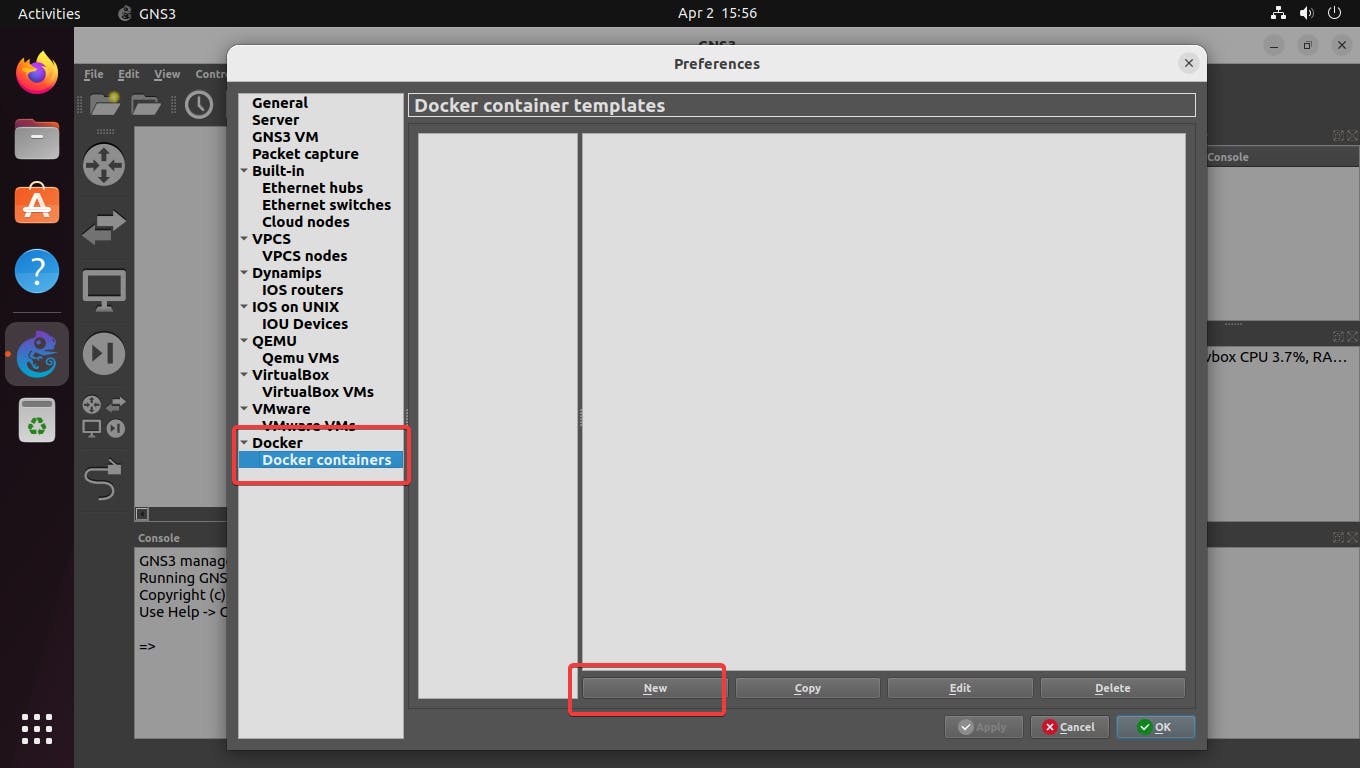
Go to preferences (On the top left click on Edit, then Preferences)

Go to Docker containers and click new
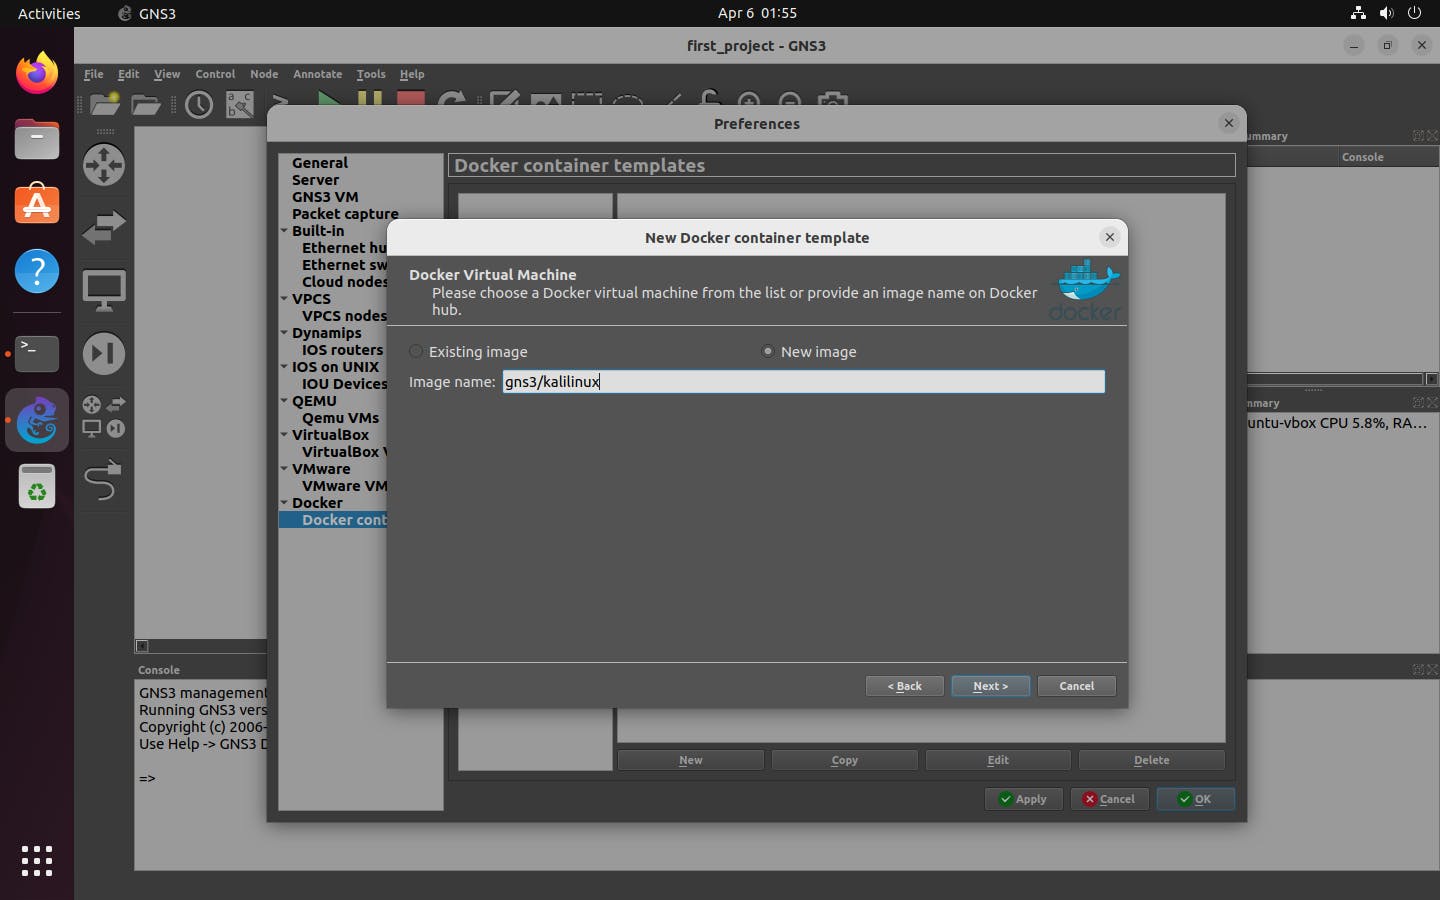
Select new image and type in gns3/kalilinux for the image name and click Next
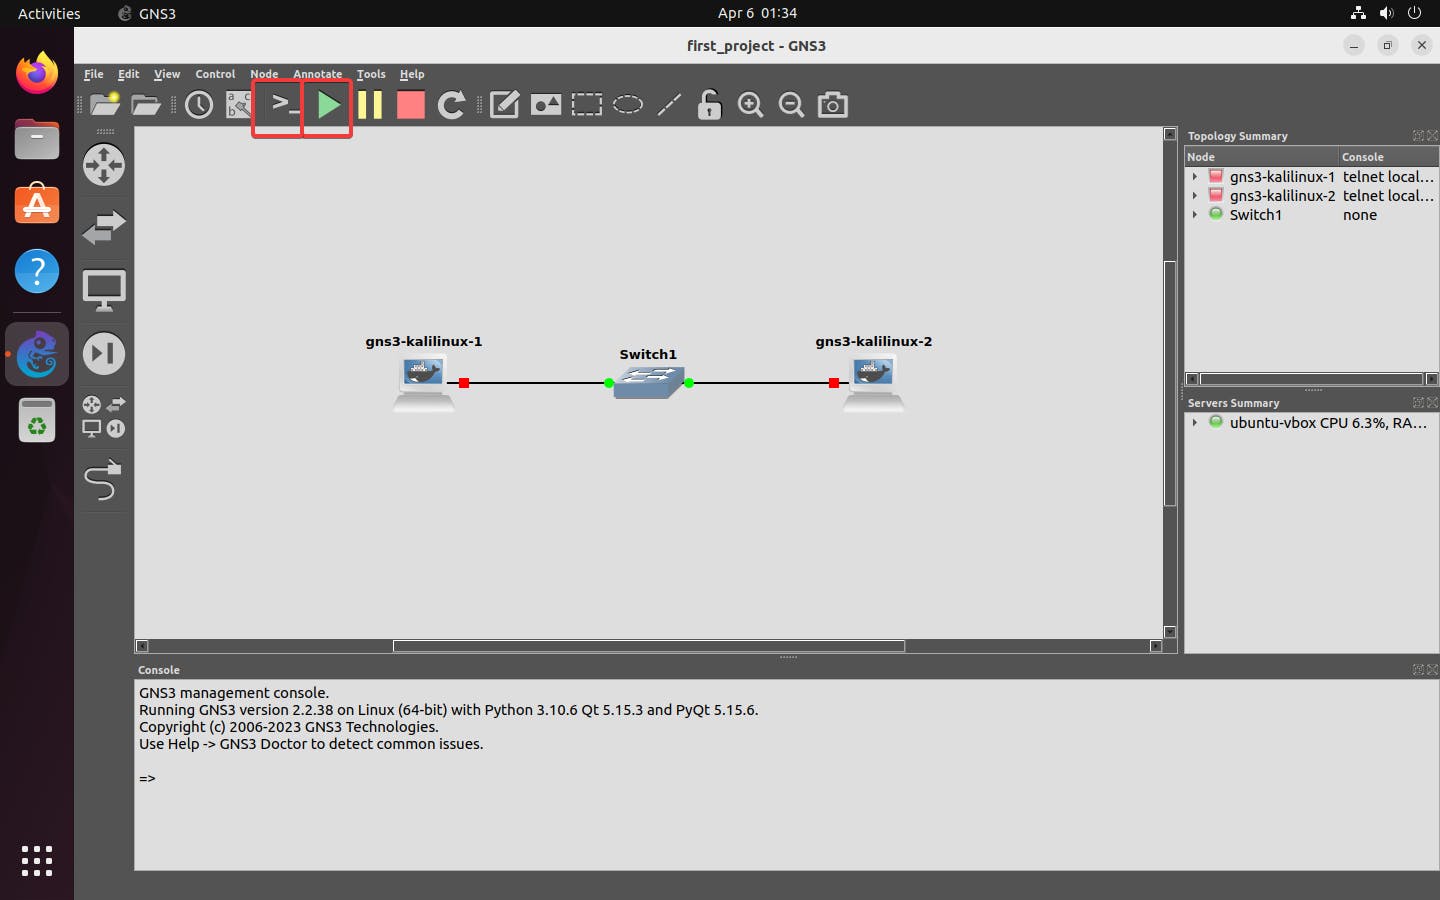
Testing GNS3
After creating the container template, build a simple design consisting of two Kali Linux containers and a switch, then run all devices and open the console
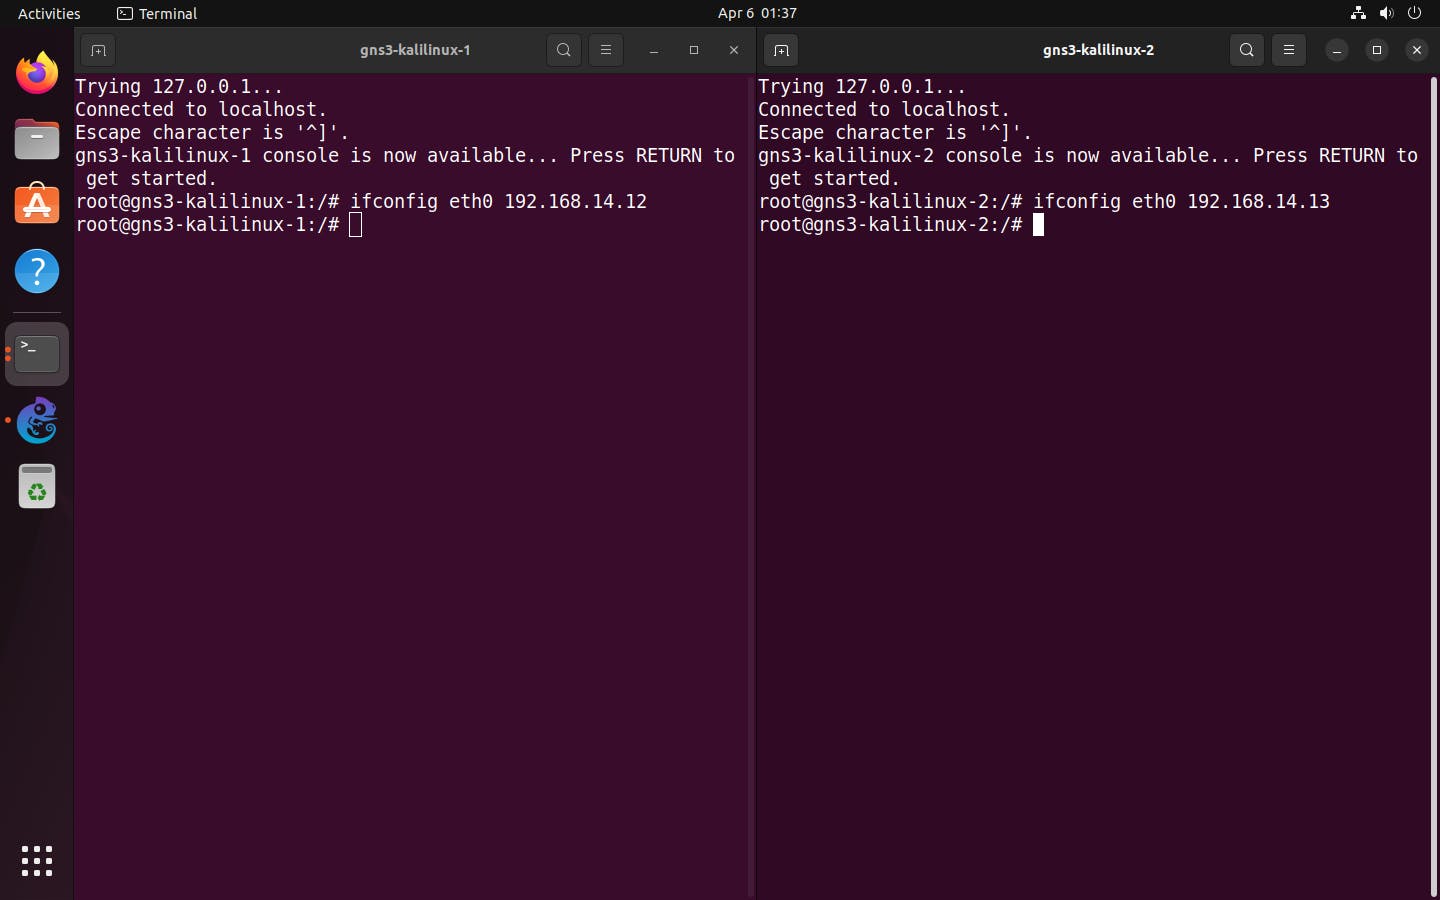
Before pinging from one container to the other, set the IP address of both container
ifconfig <interface_name> <ip_address>
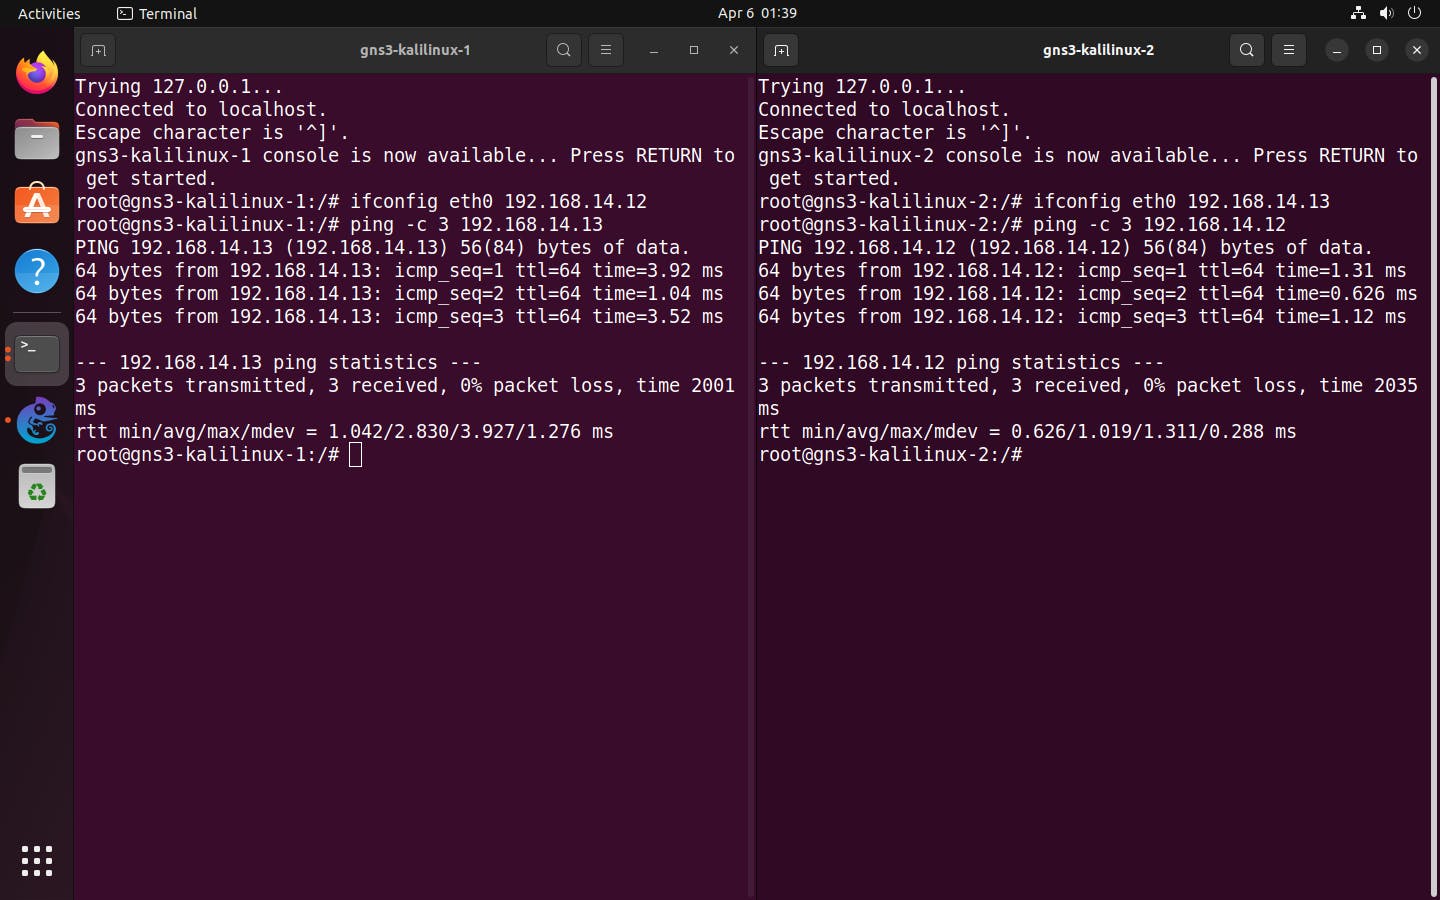
Then ping from one container to the other
ping -c 3 <target_ip>
Thanks for reading!
Thank you so much for taking the time to read my first blog post! I hope you found it informative and enjoyable. If you have any feedback or suggestions, please don't hesitate to reach out.
Once again, thank you for reading, and I hope to see you back here soon!